


NEEDLEWORK

Online DIY Business: What Are Themes, And How Useful Are They?
DIYs or do-it-yourself products have been ruling people’s hearts for a while now. Such handcrafted products are also preferred over industry-manufactured products by many people. Anyone, from potters, artists, and…

Thinking Of Selling Personalized DIY Products On Ebay? Here’s The Ultimate Guide!
Have you always wondered how people get their crafts and handmade products sold online? It seems tricky at first, and so many questions come to mind. Is it sustainable? Is…
Own handwork: main types and types
There is a fairly large list of more or less popular types of needlework. Moreover, some of them are already considered international, since history controversially determines the country of their…
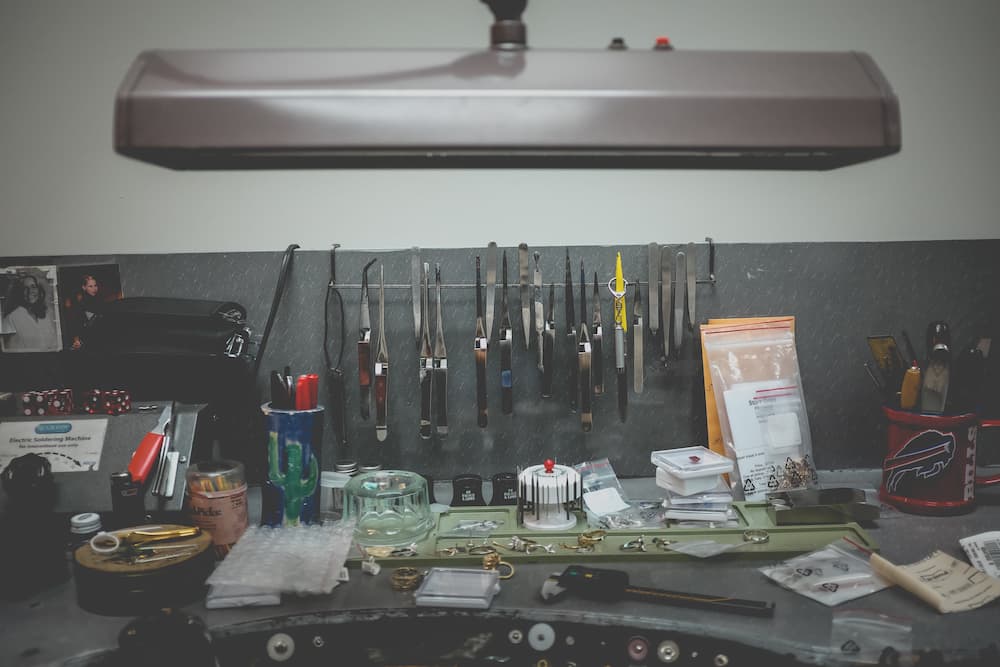
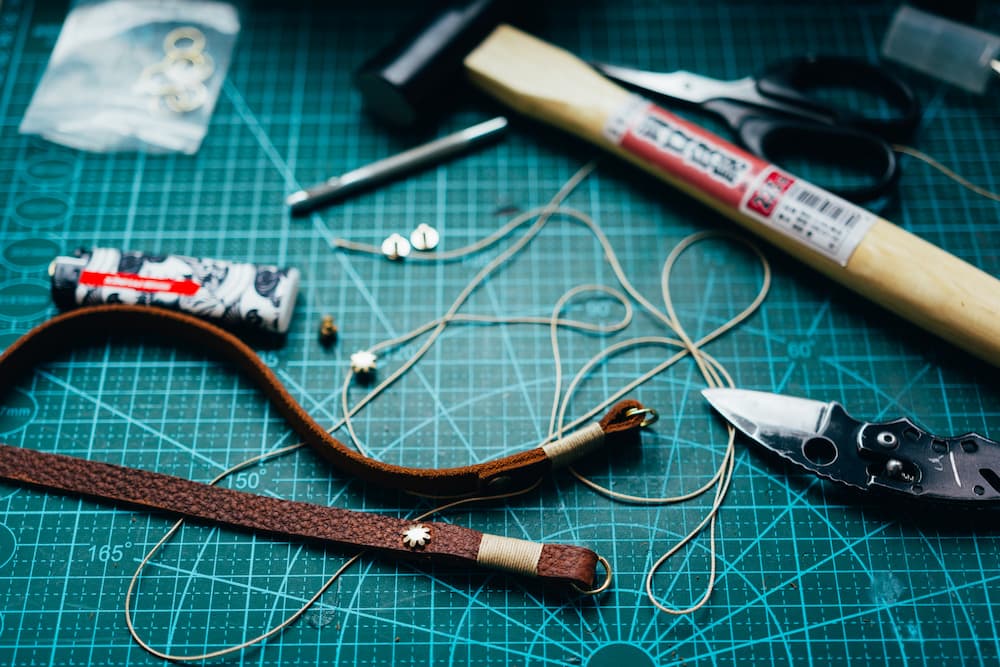
Accessories for needlework
Accessories for needlework are the final and very important touch in any product. The fittings add completeness, style and even character to the product. For example, it is impossible to…
WE’VE WON SOME AWARDS

You should visit scamfighter.net if you are a student looking for a company to delegate assignments to. These guys know which sites are worth your attention.

Look on number 1 online casino here – in a world of entertainment and excitement at the best online casino in Australia, where every spin and bet counts.

Try for the best cs2 boosting services from eloboss and grind your first Global Elite in a few days! Professional Eloboss staff will help you with that so easy.
Whether you want to play free casino games or gamble online and win real money, we’ll help you make your money and gameplay go further. Discover the best online gambling sites for real money in Australia.

Get to know how to play online casino for real money claiming generous bonuses and win big jackpots.

Casino Mrbet pays winnings without delay. In addition, every player will have the opportunity to get free money for betting through the loyalty program.

When it comes to finances, we all have different needs and wants. That’s why financial guides are so important. They help you figure out where you need to start, what steps to take next, and what resources are available for your specific situation.

Play at the best Finnish casinos without registration. Pikacasinot as they say in Finland.
At NonGamStopWager.com you’ll find everything you need to know about non-GamStop online casinos. We’ll tell you all about GamStop’s self-exclusion and where you can gamble in GBP by credit card!

Automatenspielex.com is among the largest in Germany when it comes to online slots, offering a wide variety of games and an immersive gaming experience. With a vast selection of slot machines and a dedicated community of players, we take pride in being a prominent destination for slot enthusiasts in Germany

The editorial team of our website is working very well with the “Internetowe Сasino” project of Polish businessman Milan Rabszski. We have come up with different formats of successful networking and will present our ideas shortly.

Australian pokies online are best enjoyed for real money when signing up for Aussie online casinos at the reliable pokies casino comparison site called Pokiesportal.com.

Characteristics of licensed slots at the famous casino Icecasino